We’ve made changes to how you set up your Company Cookie Widget
We’ve made it even quicker and easier to get our Cookie Widget on your site — here’s what we did and why we did it.
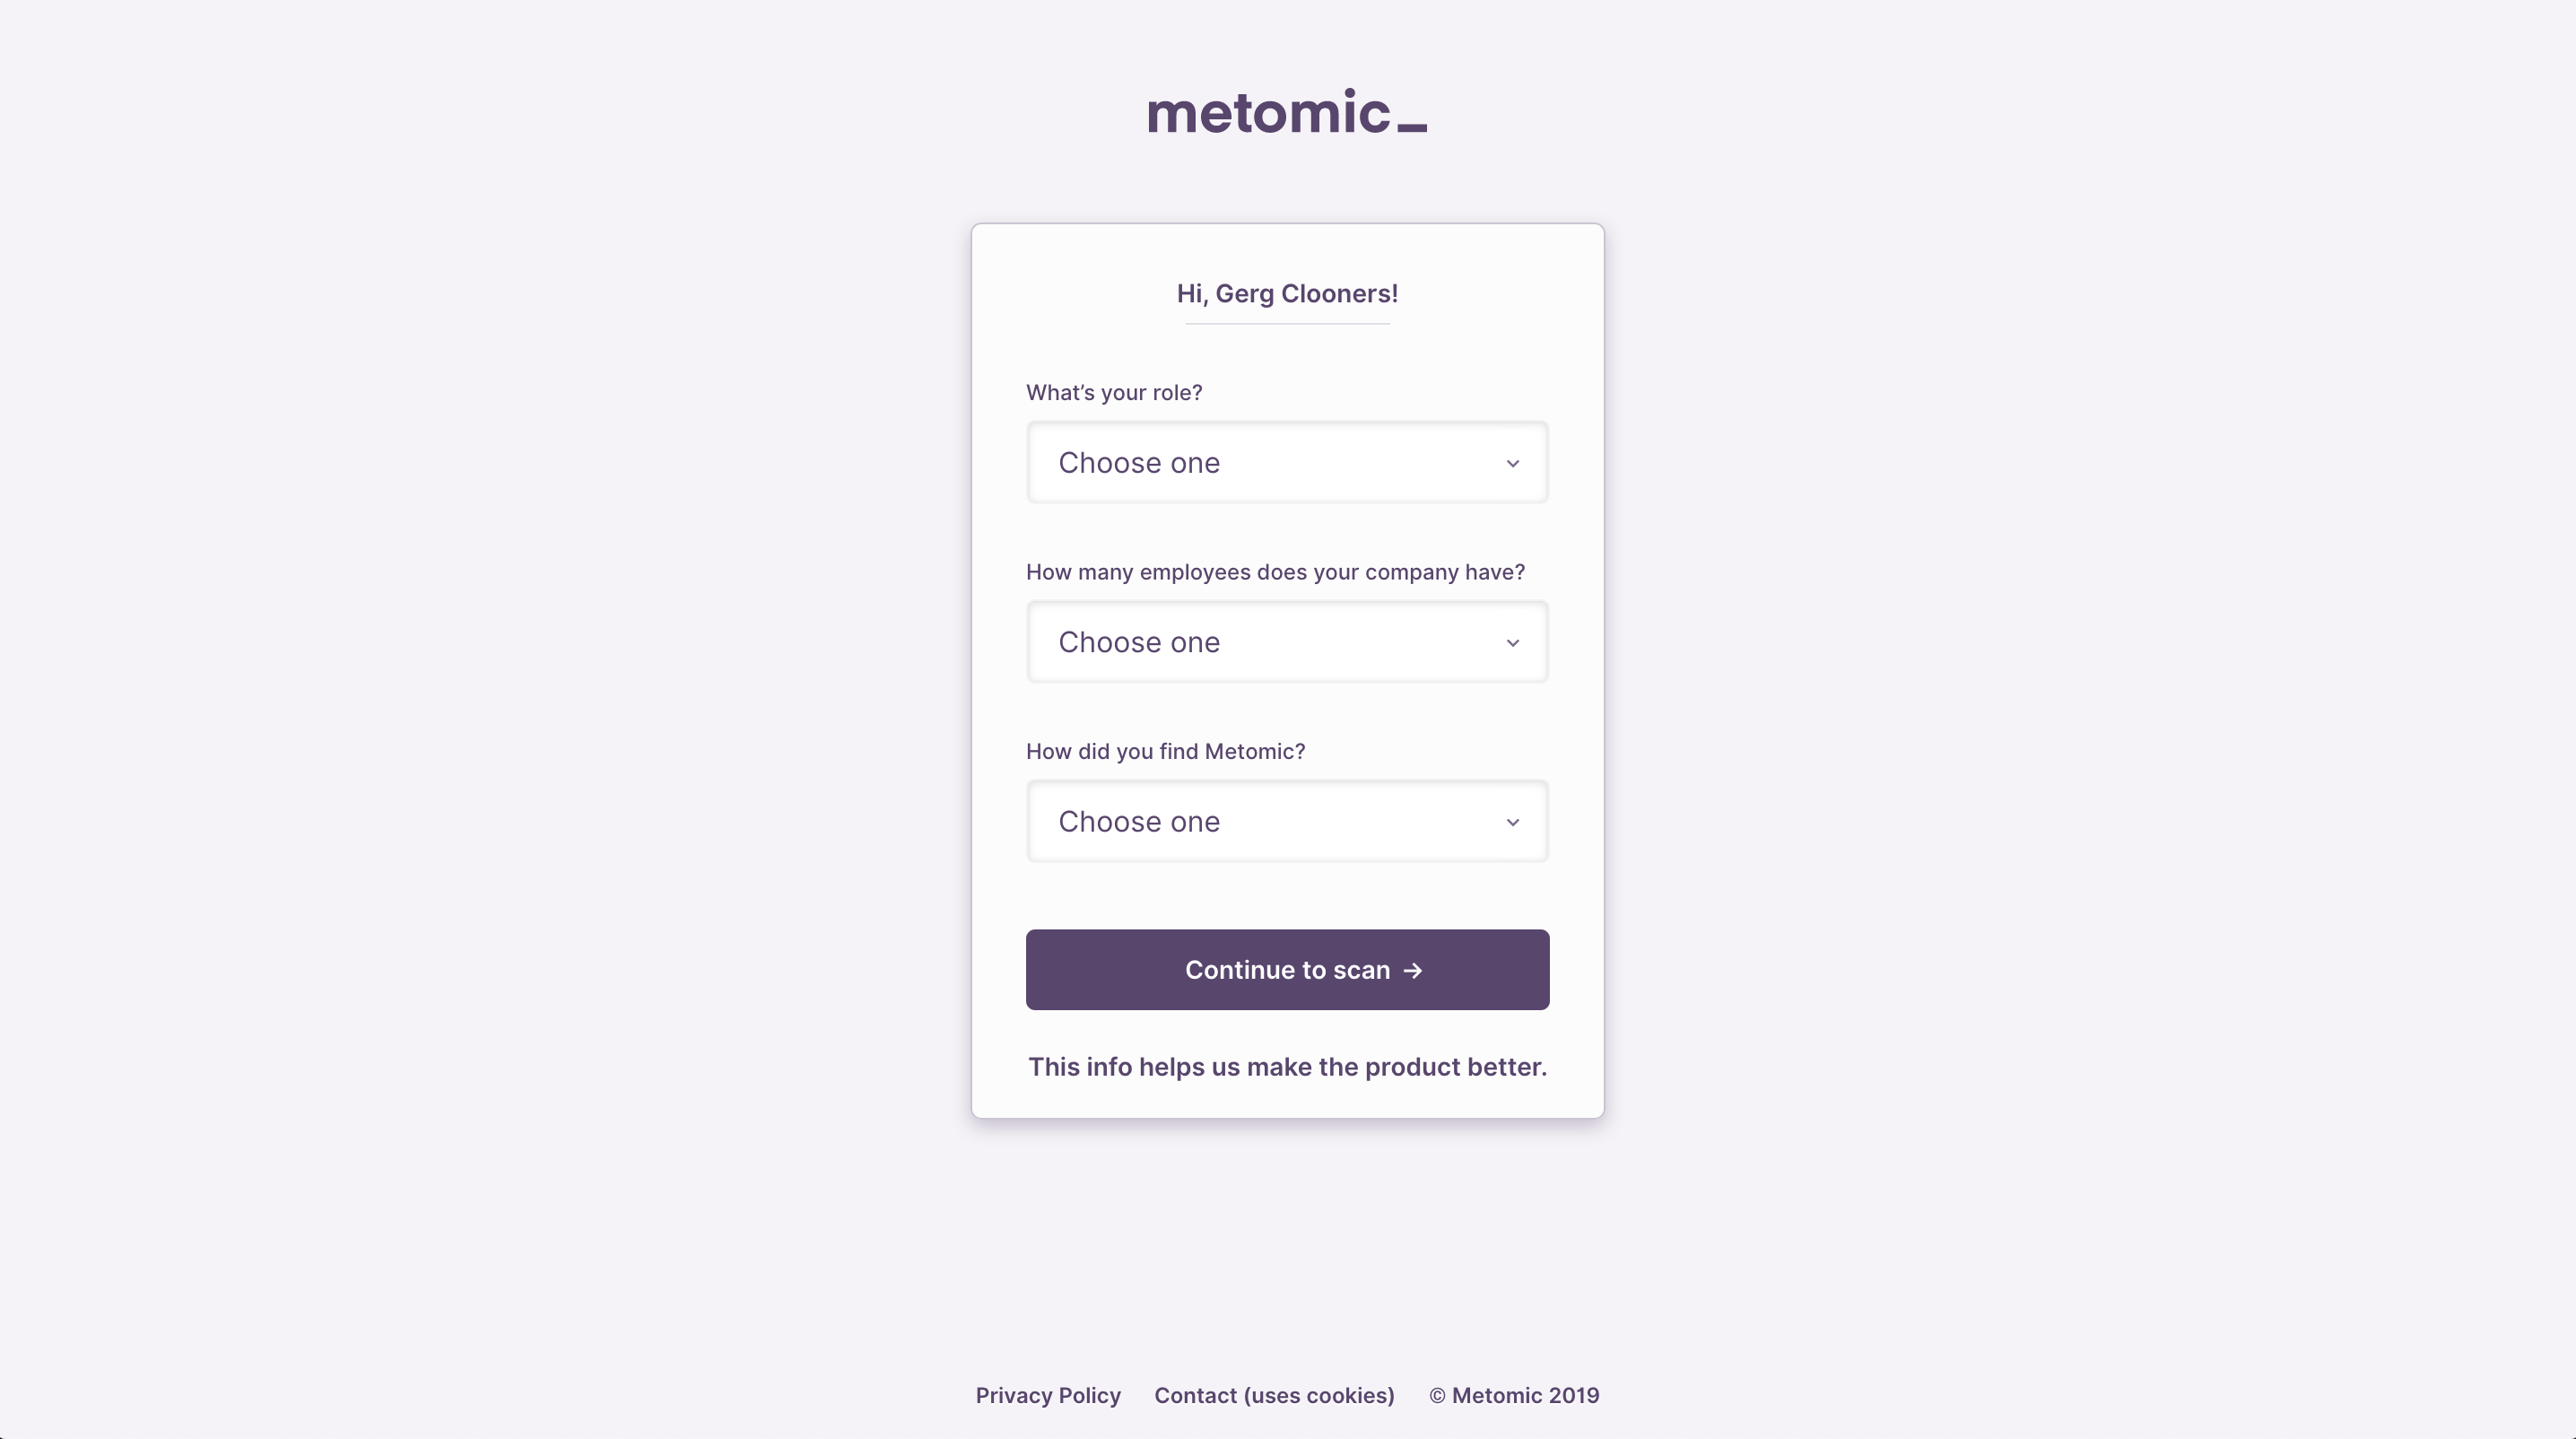
Firstly, when you sign up you can tell us more about the organisation you are representing; how big it is, and what you do there. This gives us some context should you need help with the widget further down the line.

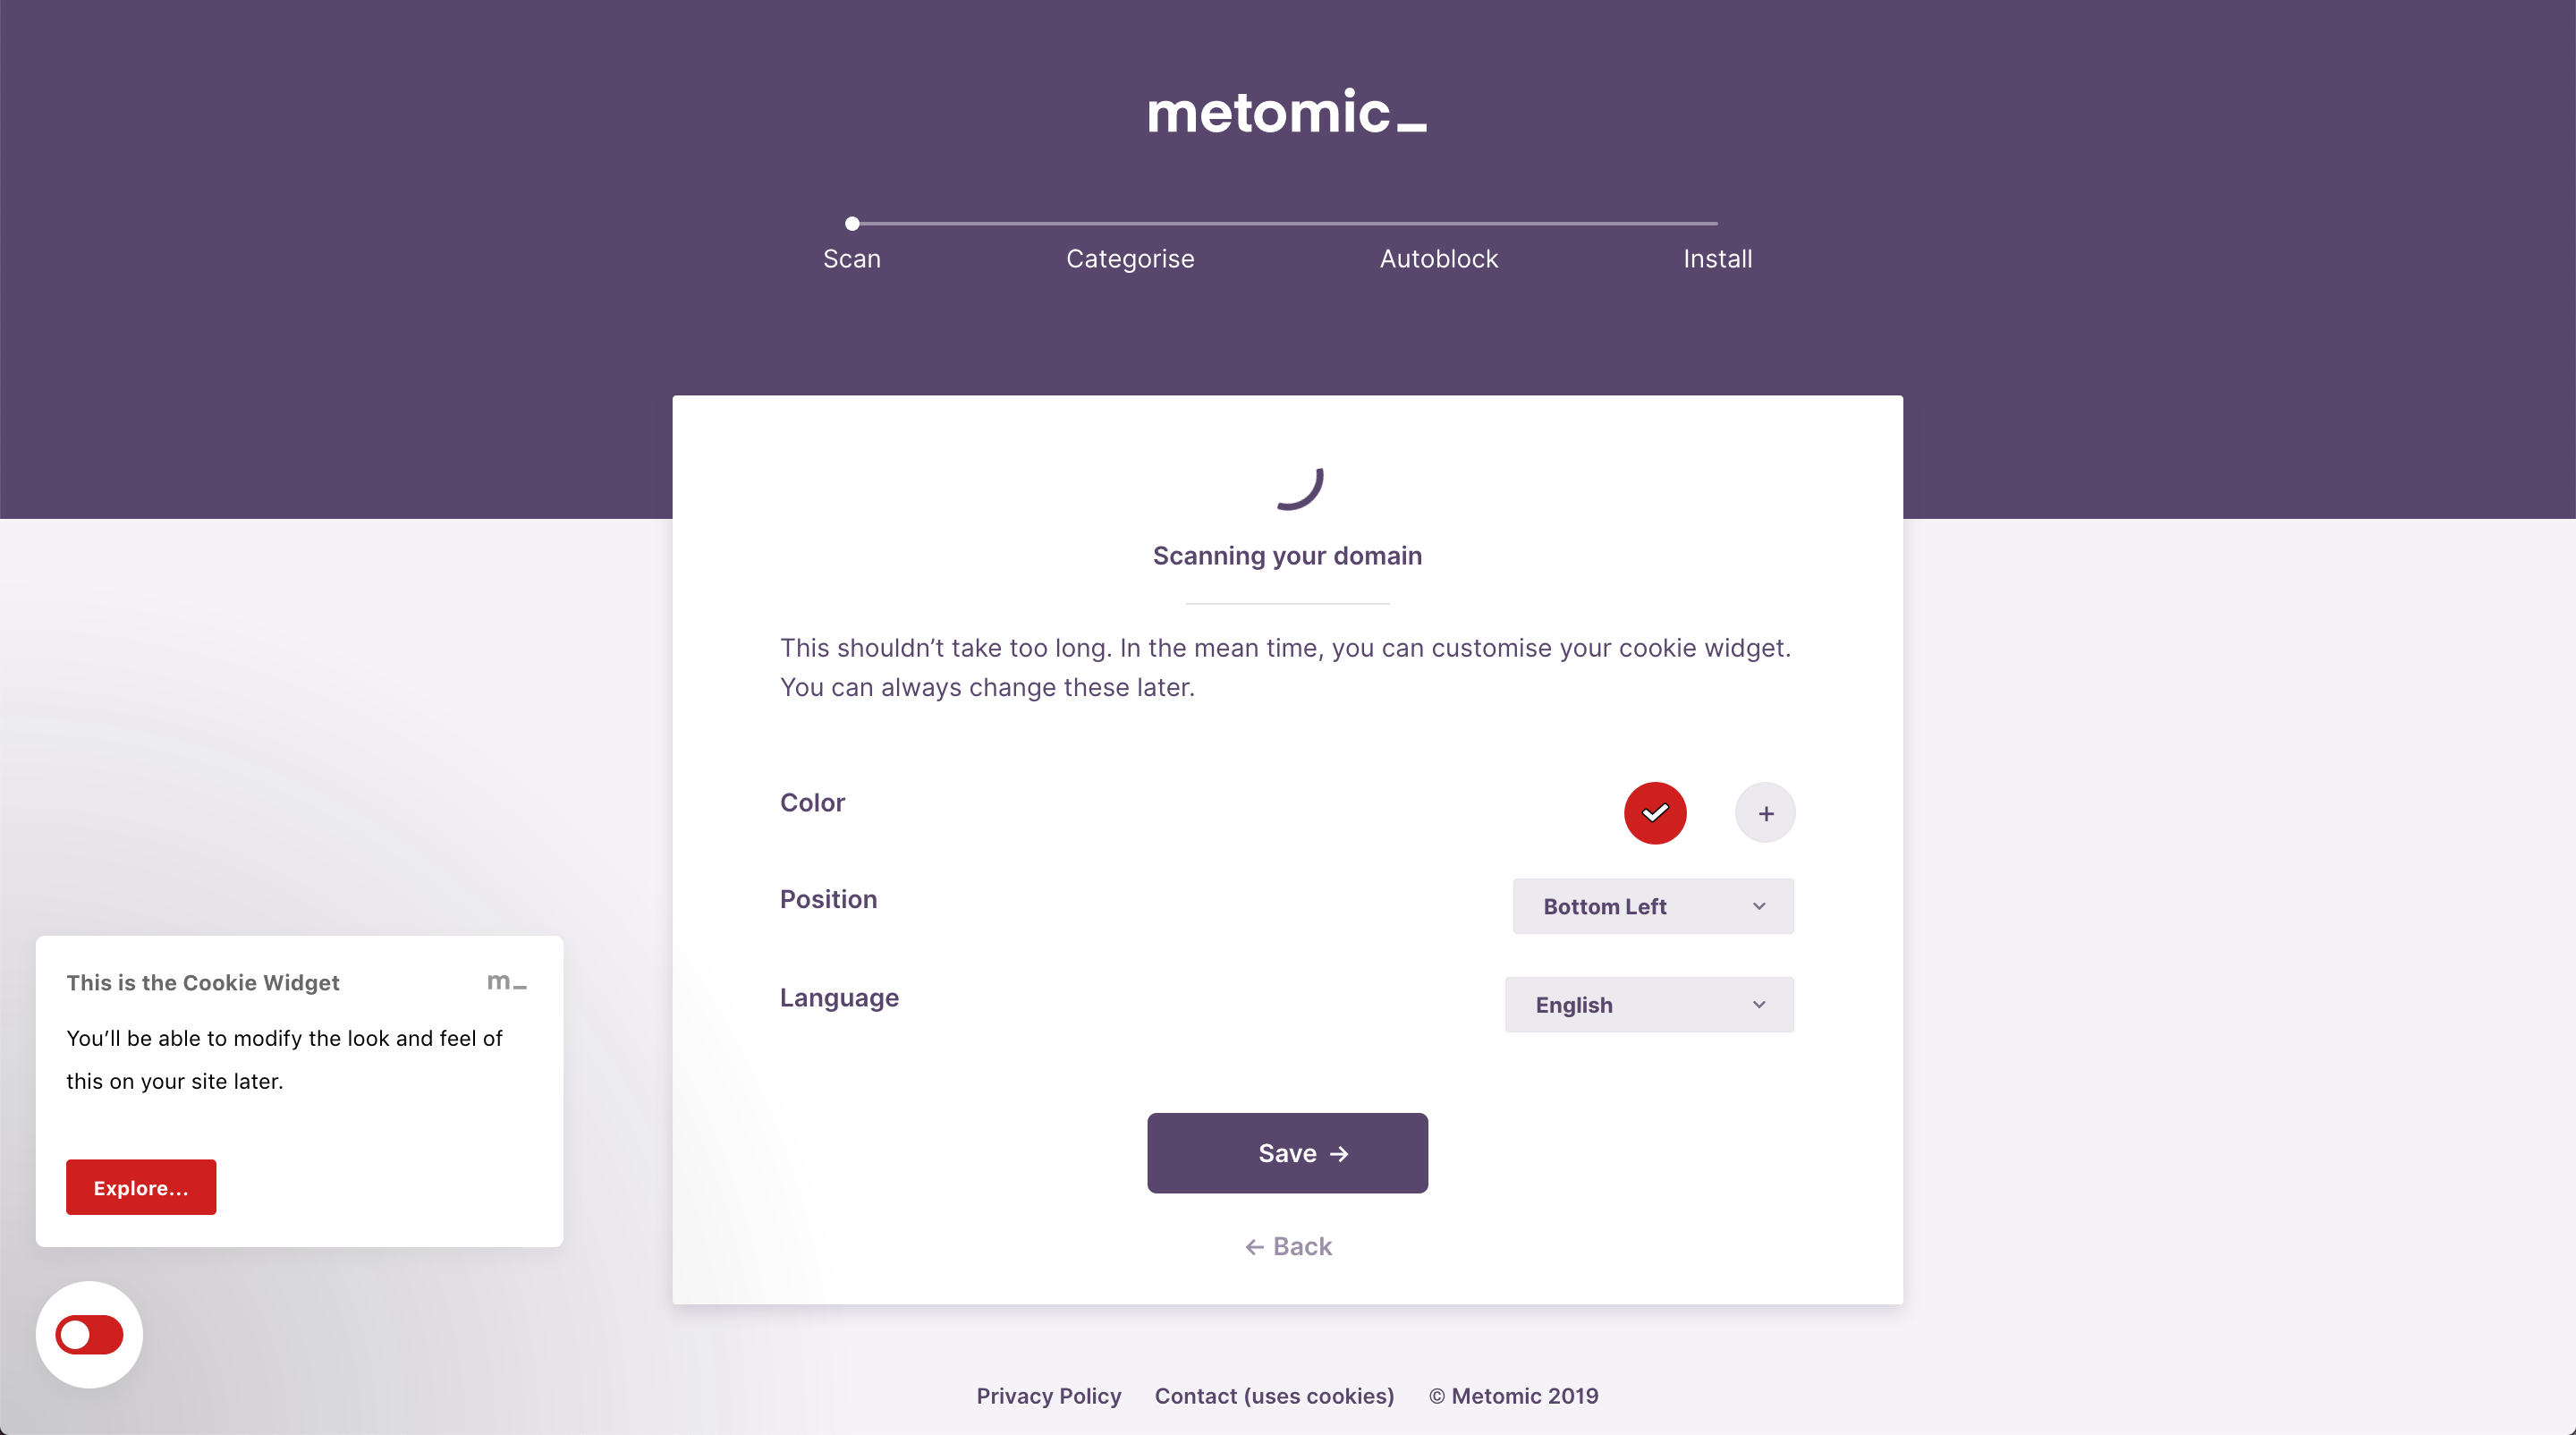
Then while scanning your domain to find what cookies it sets, you can do some visual customisation on the widget. This saves a bunch of time because while you wait for the scan to complete you can change the colour, language, and position of the widget.

This gives you stronger ownership over the widget at this very early stage of onboarding; it’s already in the right language, and the dominant colour of your website. The intention here is to remove any of those gross feelings of abstraction, such like “okay but what am I actually setting up here?”

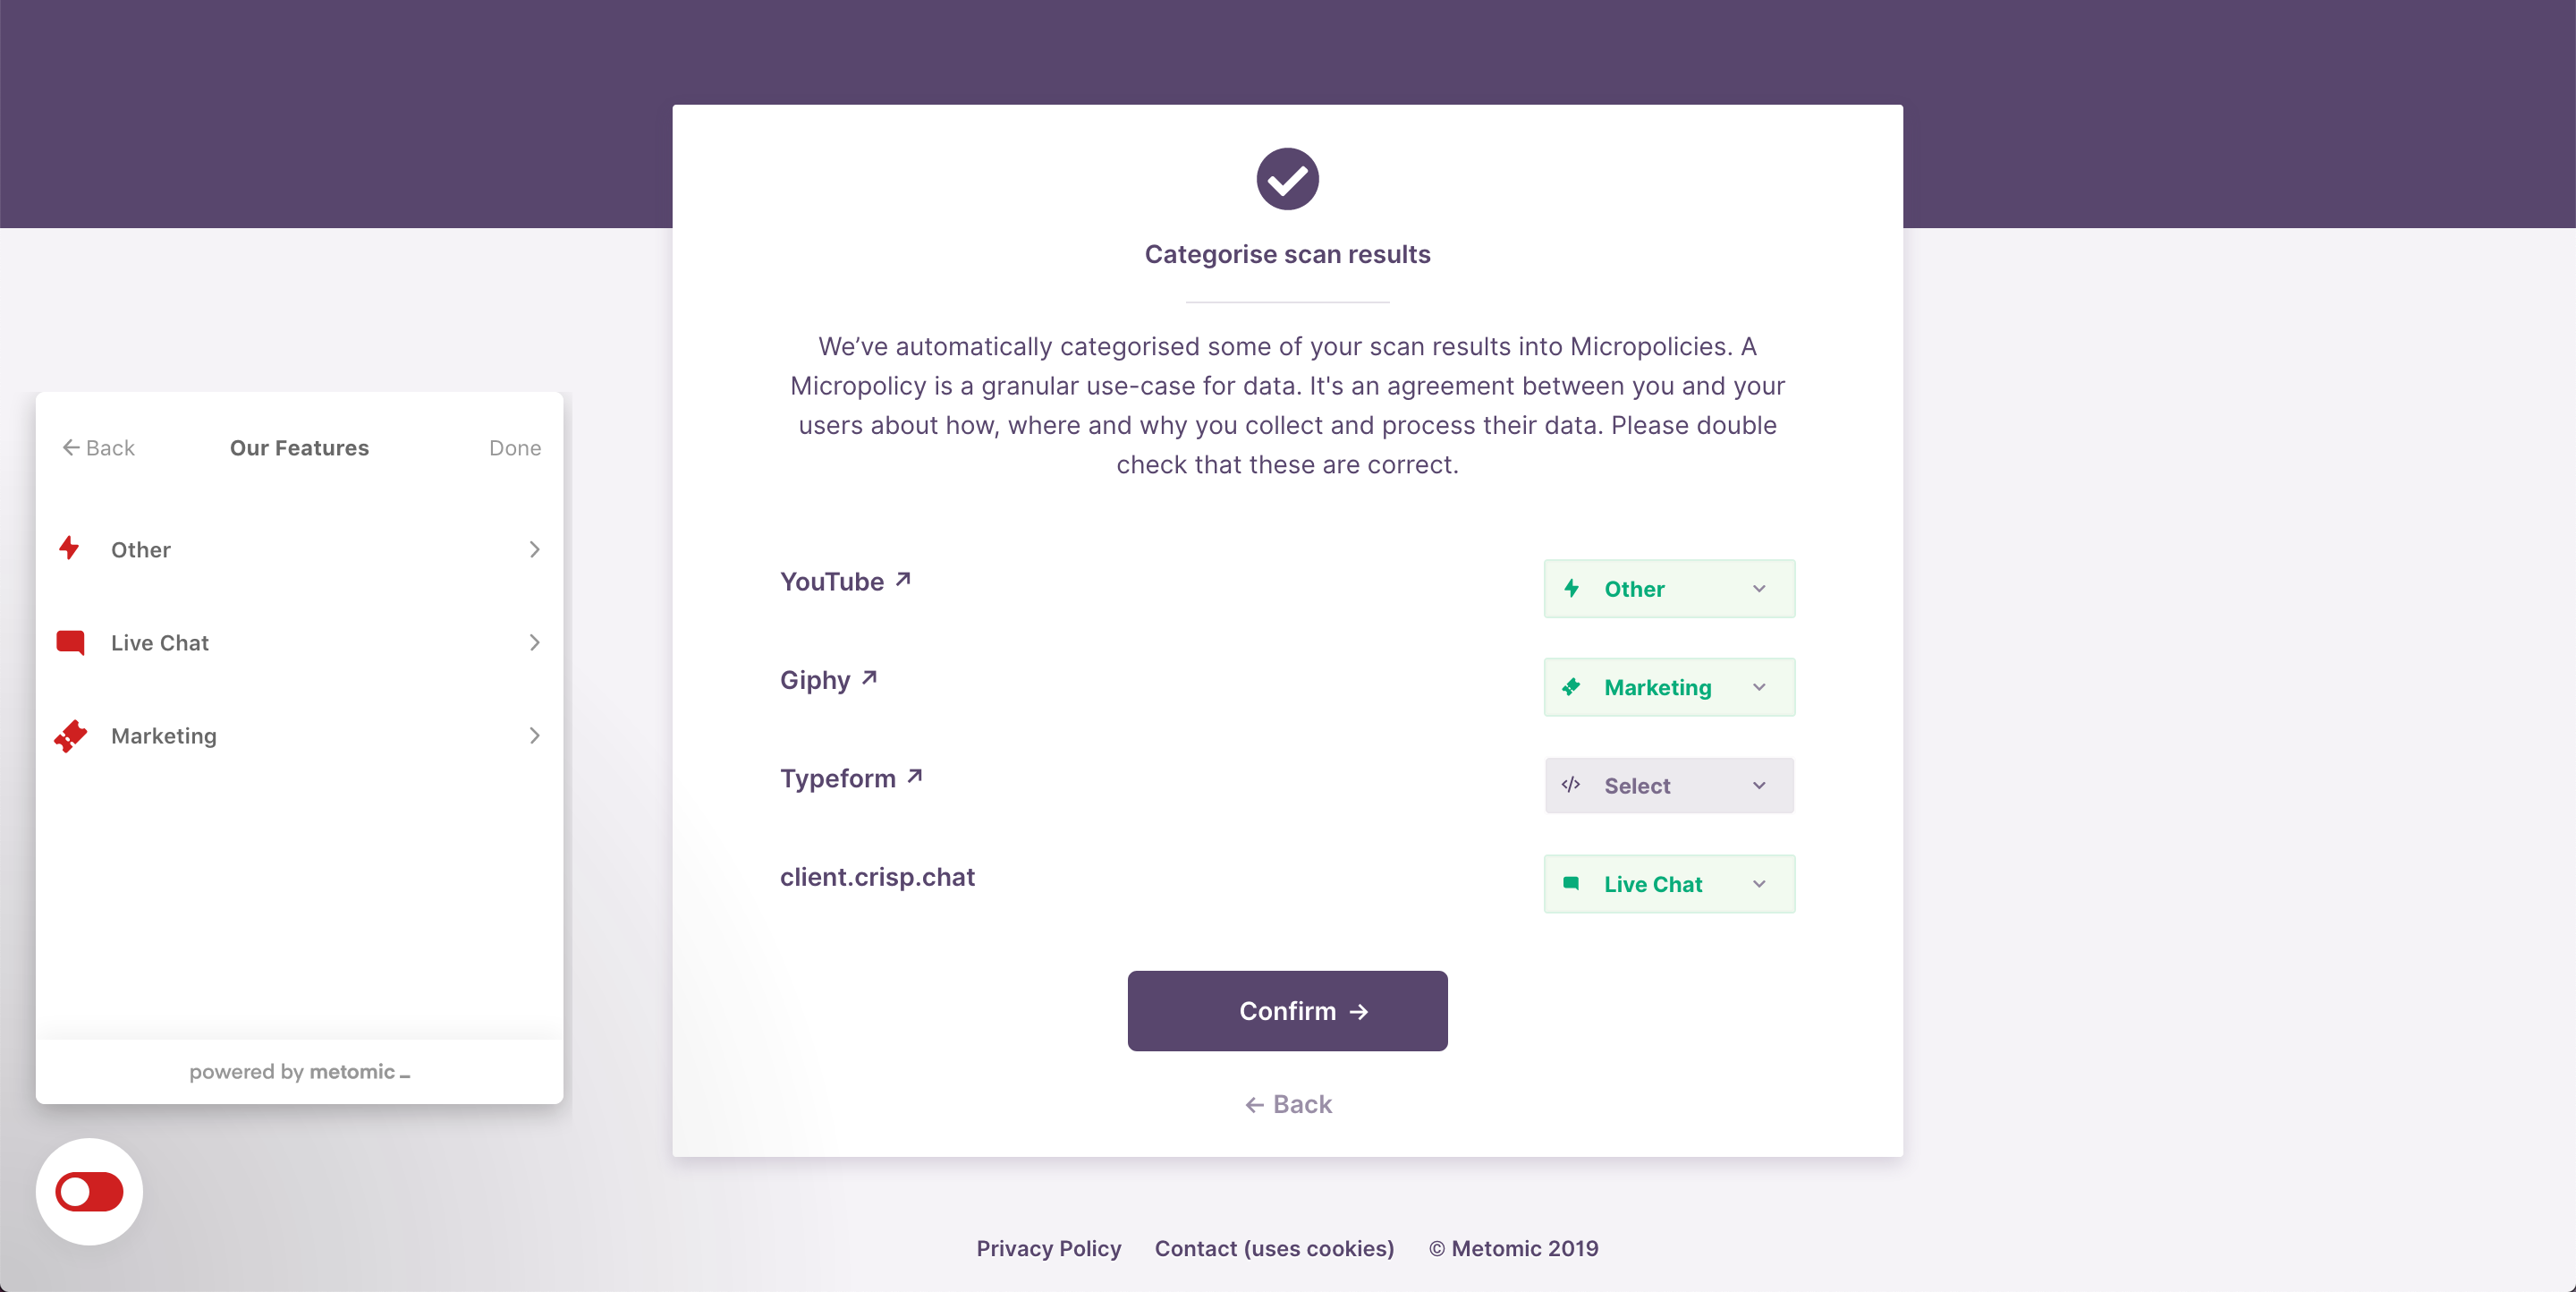
Once the scan is done you get a list of results and categorise them into Micropolicies which then appear in your Cookie Widget preview — this is literally how it will look on your site.
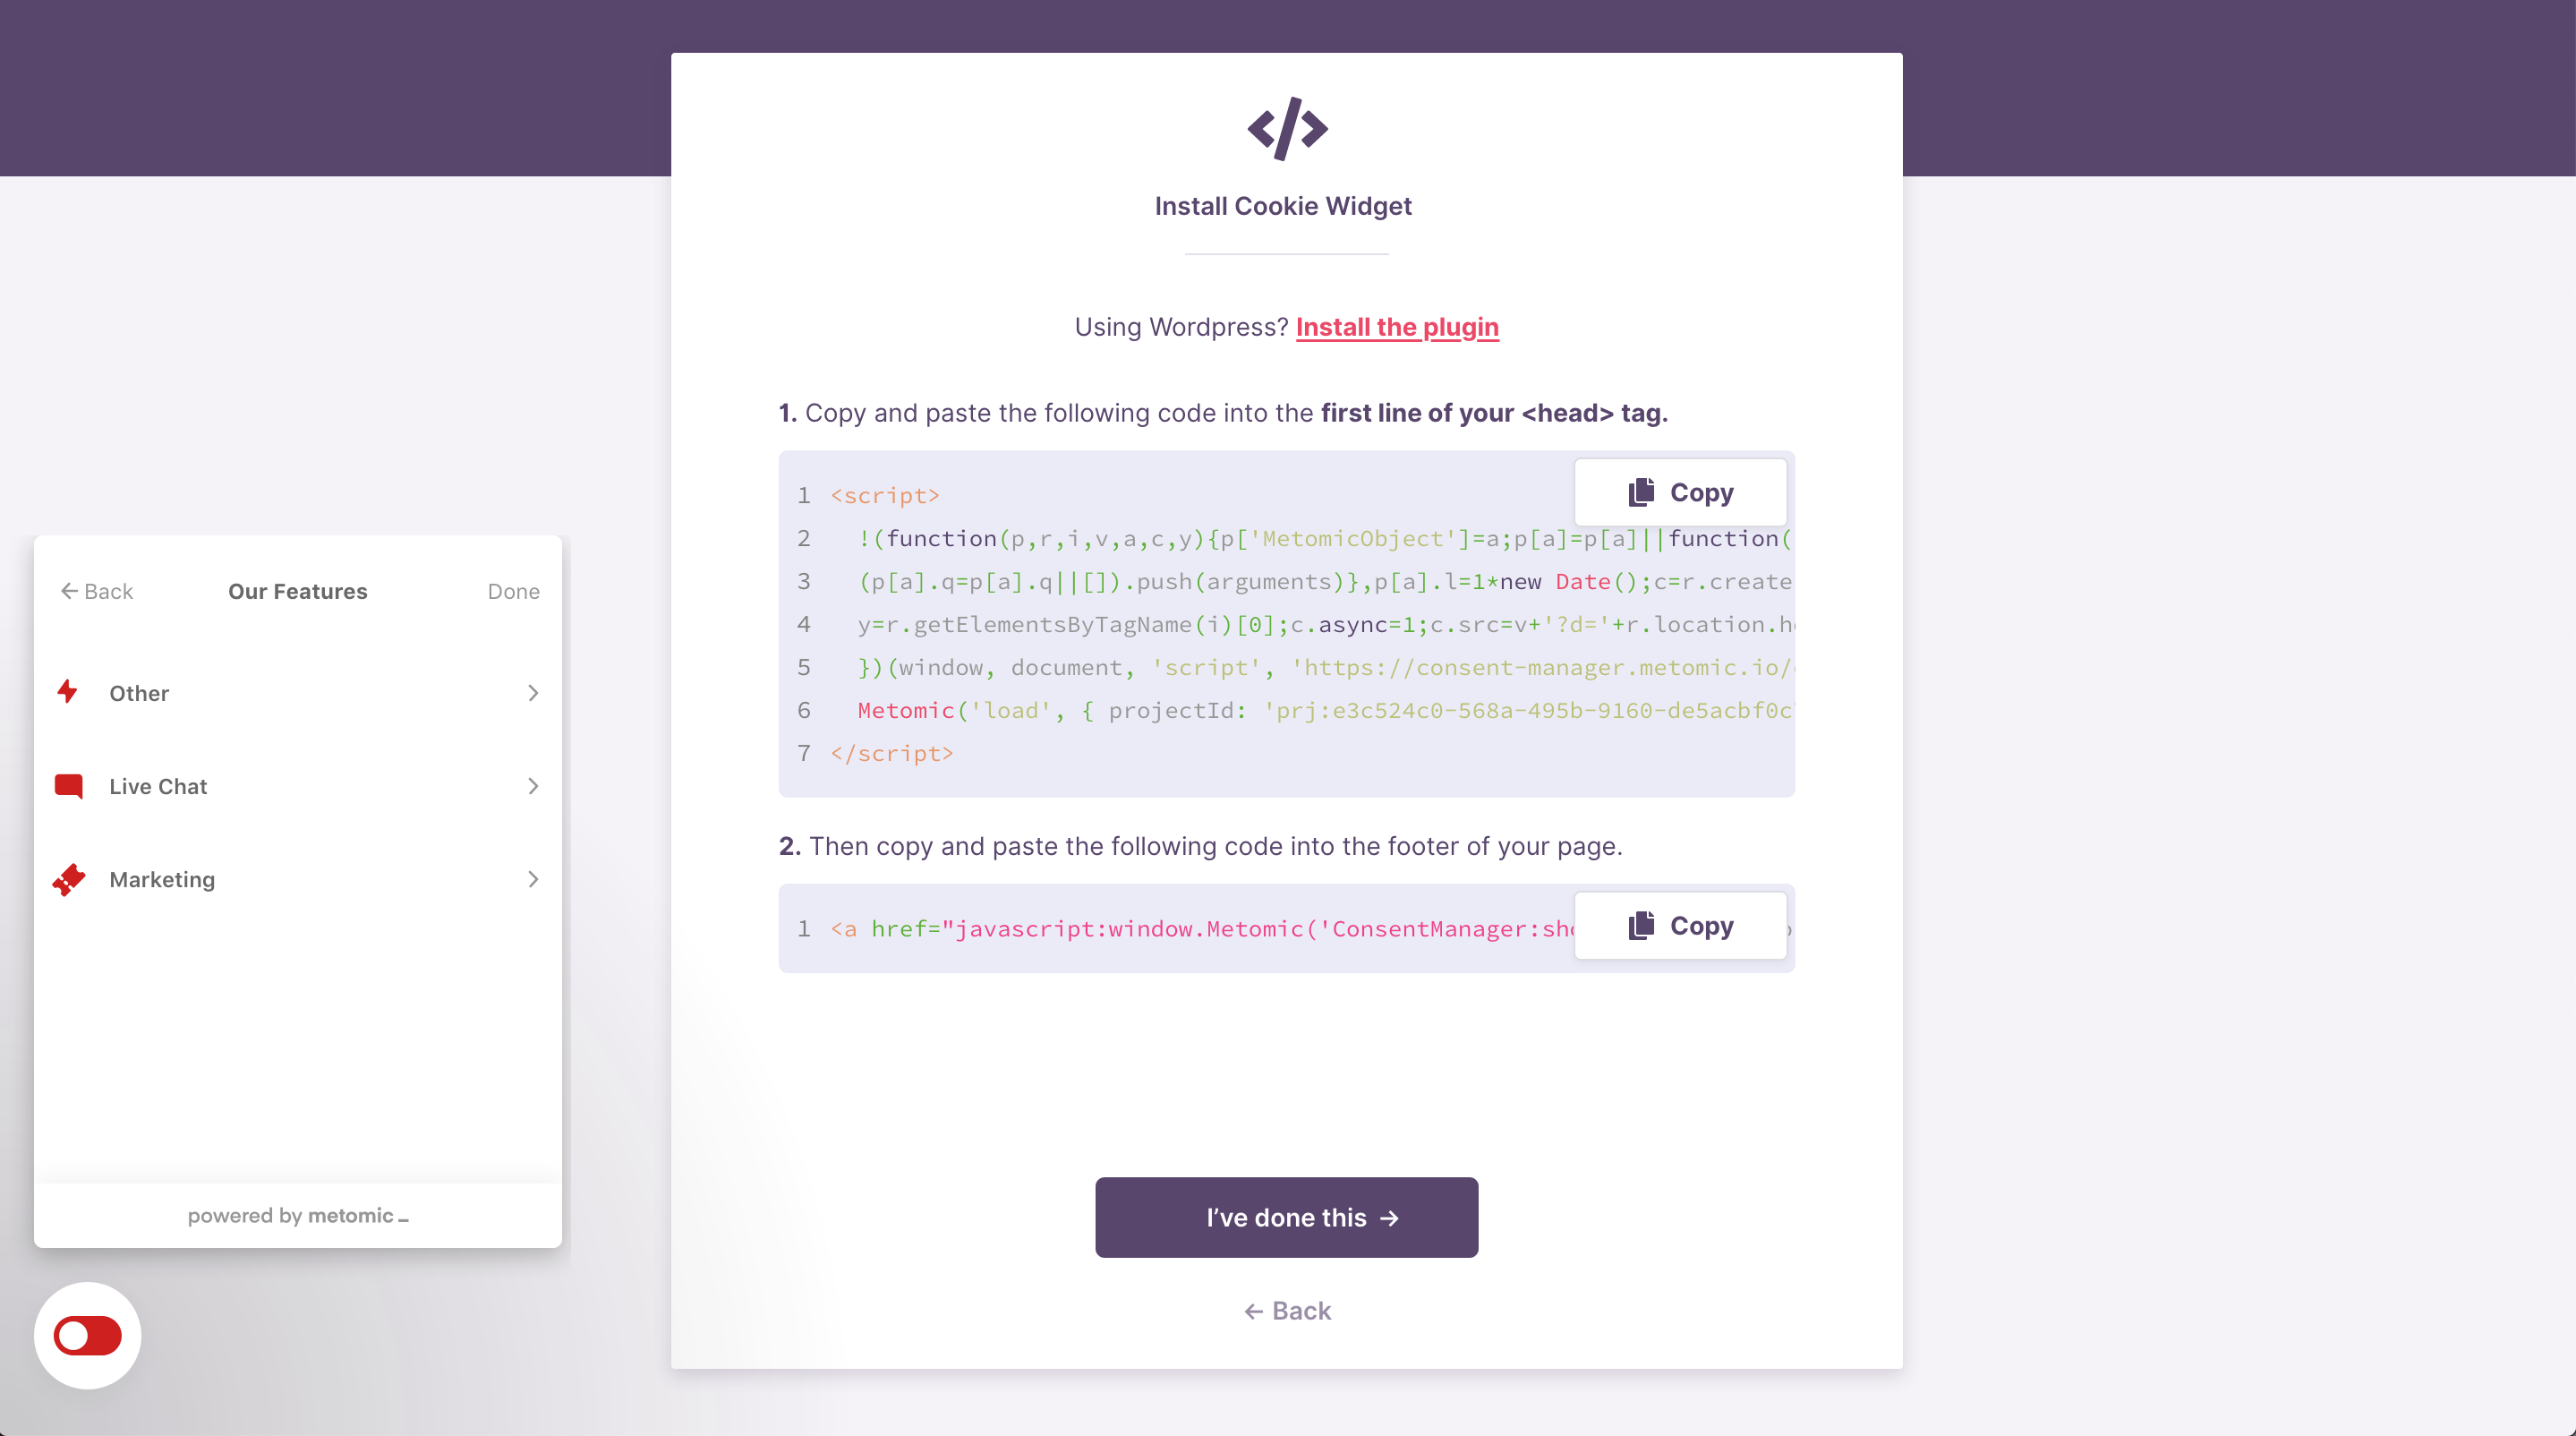
And then, waddya know, we’re already at the final step. Just as before, here’s where you grab the code to get the widget on your site. The one key difference is that if your site is on Wordpress, you’ve got a link to take you straight to our plugin page.

Imagining this onboarding flow as a gantt chart helped us understand how to make it as smooth as possible; if your dominant website colours can be retrieved instantly, then why not surface those for customisation while the main scan runs in the background?
This new onboarding flow has significantly reduced the time it takes to get our Cookie Widget up and running — that’s because this is a task that should be quick and easy.
